
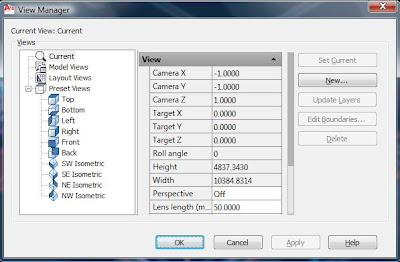
Let us continue our work from floor slab. Now we will construct wall. To construct the wall you need to draw a polyline (PL - command line) similar to the previous one around the perimeter of your plan but now on top of your floor slab. See the image. Then view it in isometric. To open the view option box - write "V" on the command line a and select SW isometric then click set current and then click OK.
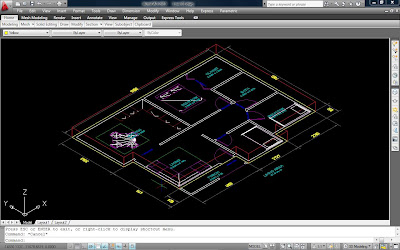
You can see that the polyline in on the bottom of your slab. Try to move it by move command (M - command line) and bring it on top of your floor slab.
Say that the wall that you are going to construct is 150mm thick and 2750mm high. So, by using the command poly solid on the ribbon menu as you can see from the picture - click it and read the command line for the wall option.
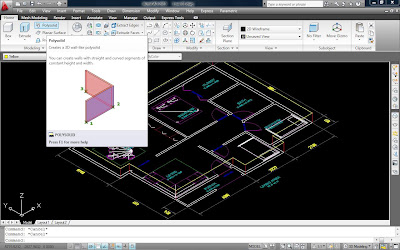
This is the command line option for the poly solid. Type 'H' and enter the wall height 2700 and then press enter. Type 'T' to input the wall thick of 150 then press enter. Type J to set the justify position by typing 'L' for left location. So the final option is you type 'O' to select the object.

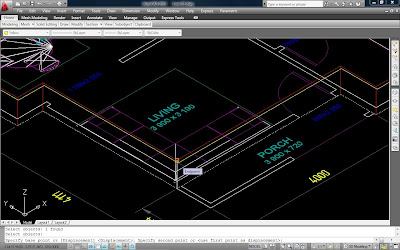
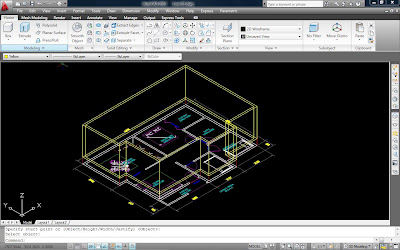
When ask to select object, you can select the poly line and see the result directly.

The result should be like this.
See also video tutorial for creating wall.
So with lesson you can see how the powerful AutoCAD draw a wall - it's fast and easy.


No comments:
Post a Comment